- Science Toys
- Magnetism
- Electromagnetism
- Electrochemistry
- Radio
- Thermodynamics
- Aerodynamics
- Light and optics
- Simple laser communicator
- Make your own 3D pictures
- Making permanent rainbows.
- A solar powered marshmallow roaster
- Make a spectroscope from a CD.
- The impossible kaleidoscope
- Make a solar hotdog cooker
- Exploring invisible light
- A high resolution spectrograph.
- Time-lapse photography.
- High speed photography.
- Stacking photos for high depth of field.
- Biology
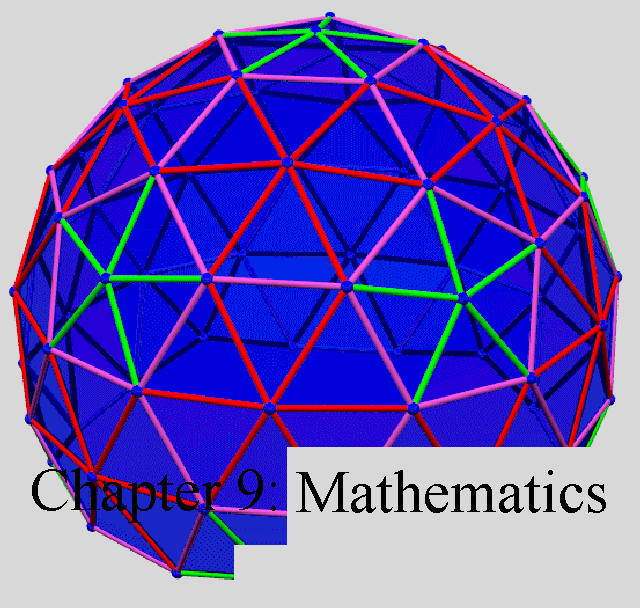
- Mathematics
- Computers and Electronics
A moving sculpture made from paper
|
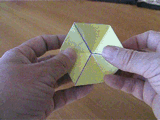
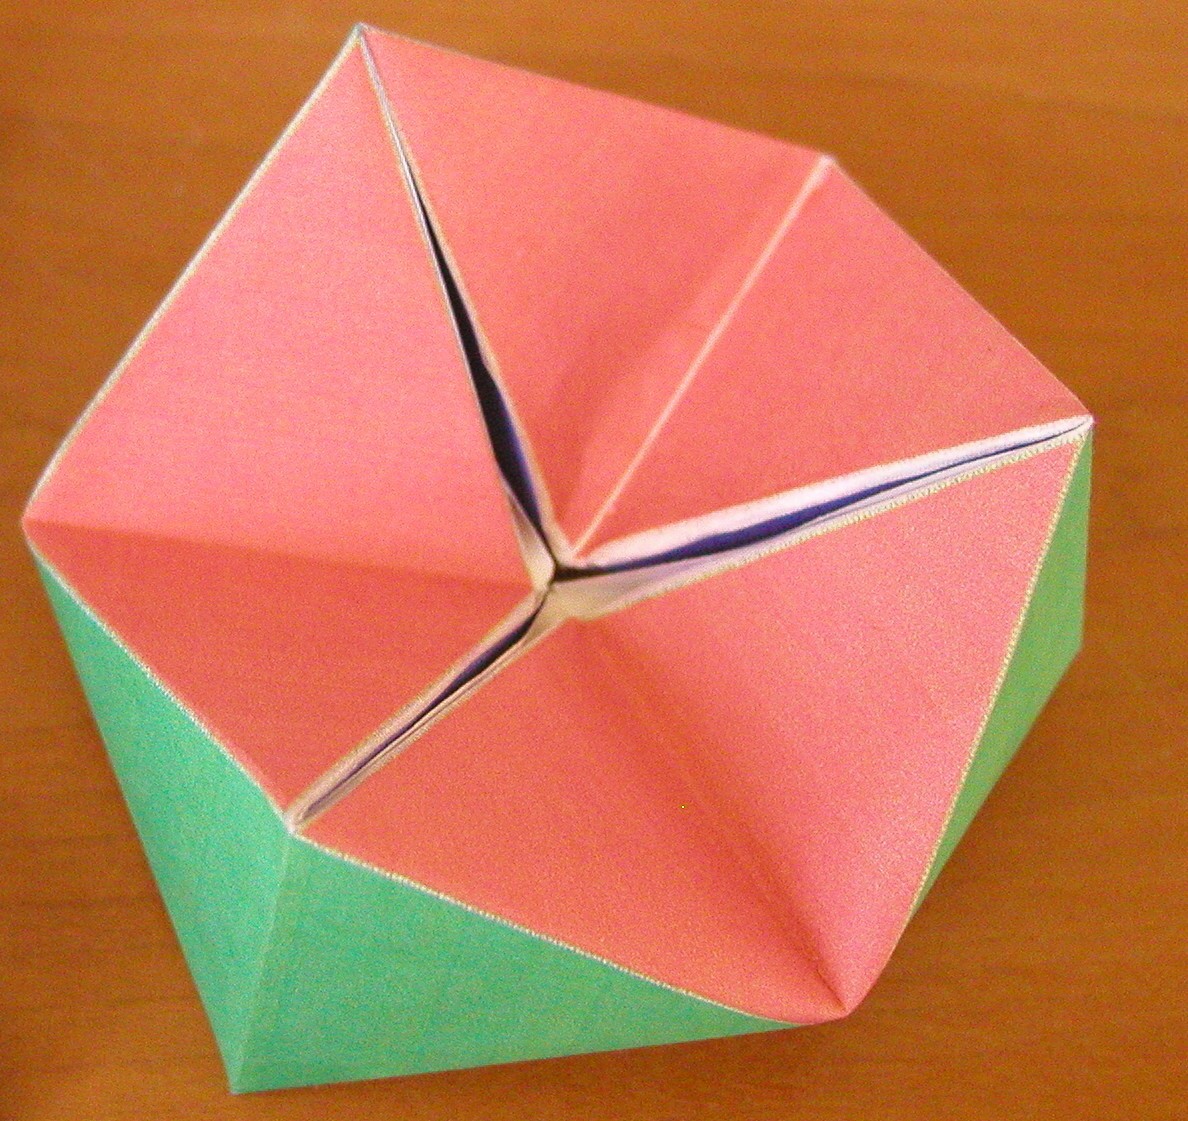
As I turn this little paper sculpture inside-out, it changes colors. First yellow, then blue, then red, then green, and then yellow again. I can keep turning it inside-out, cycling the colors, as long as I like. |
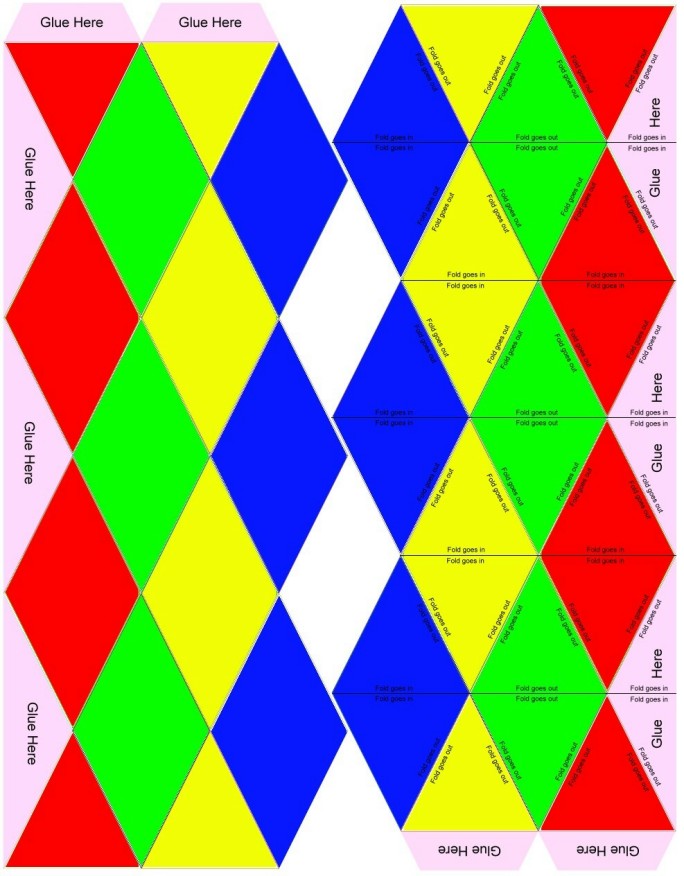
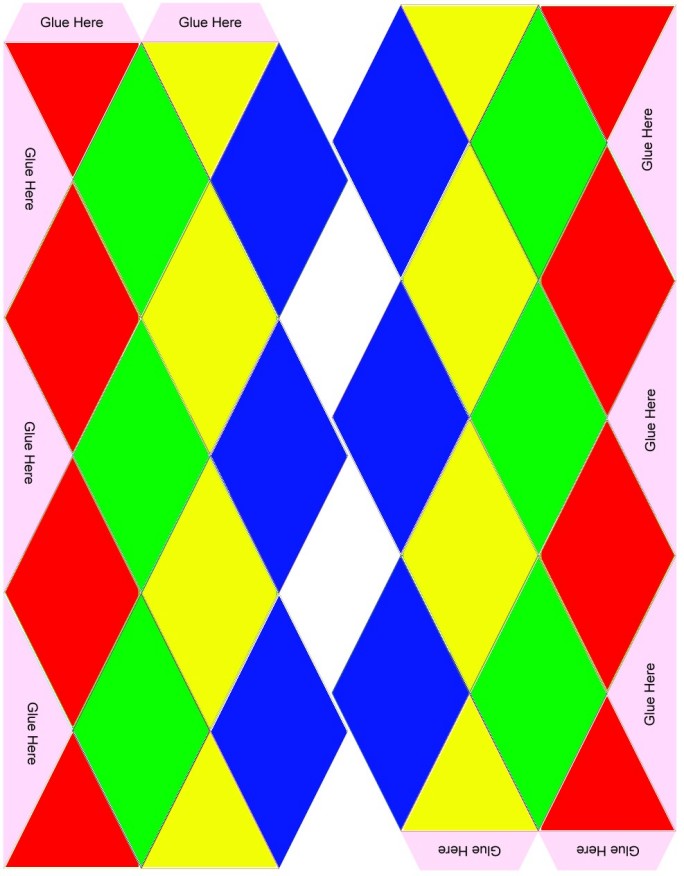
Click on photo for a larger picture The picture we have printed has two patterns on it. The pattern on the right has lots of extra lines and text on it, to help you fold your first toy properly. The one on the left will be the second toy you build, and it will look better because there is no extra printing on it. Once you are good at folding them, you can use this picture which has two patterns without any extra printing. The first step after cutting out the colored pattern, is to fold it carefully along the lines that separate the colors, and along the lines that connect the points of the diamonds. Some of the folds will eventually go inwards, and some outwards, but in this step we are folding the paper back and forth both ways, and creasing the paper well.
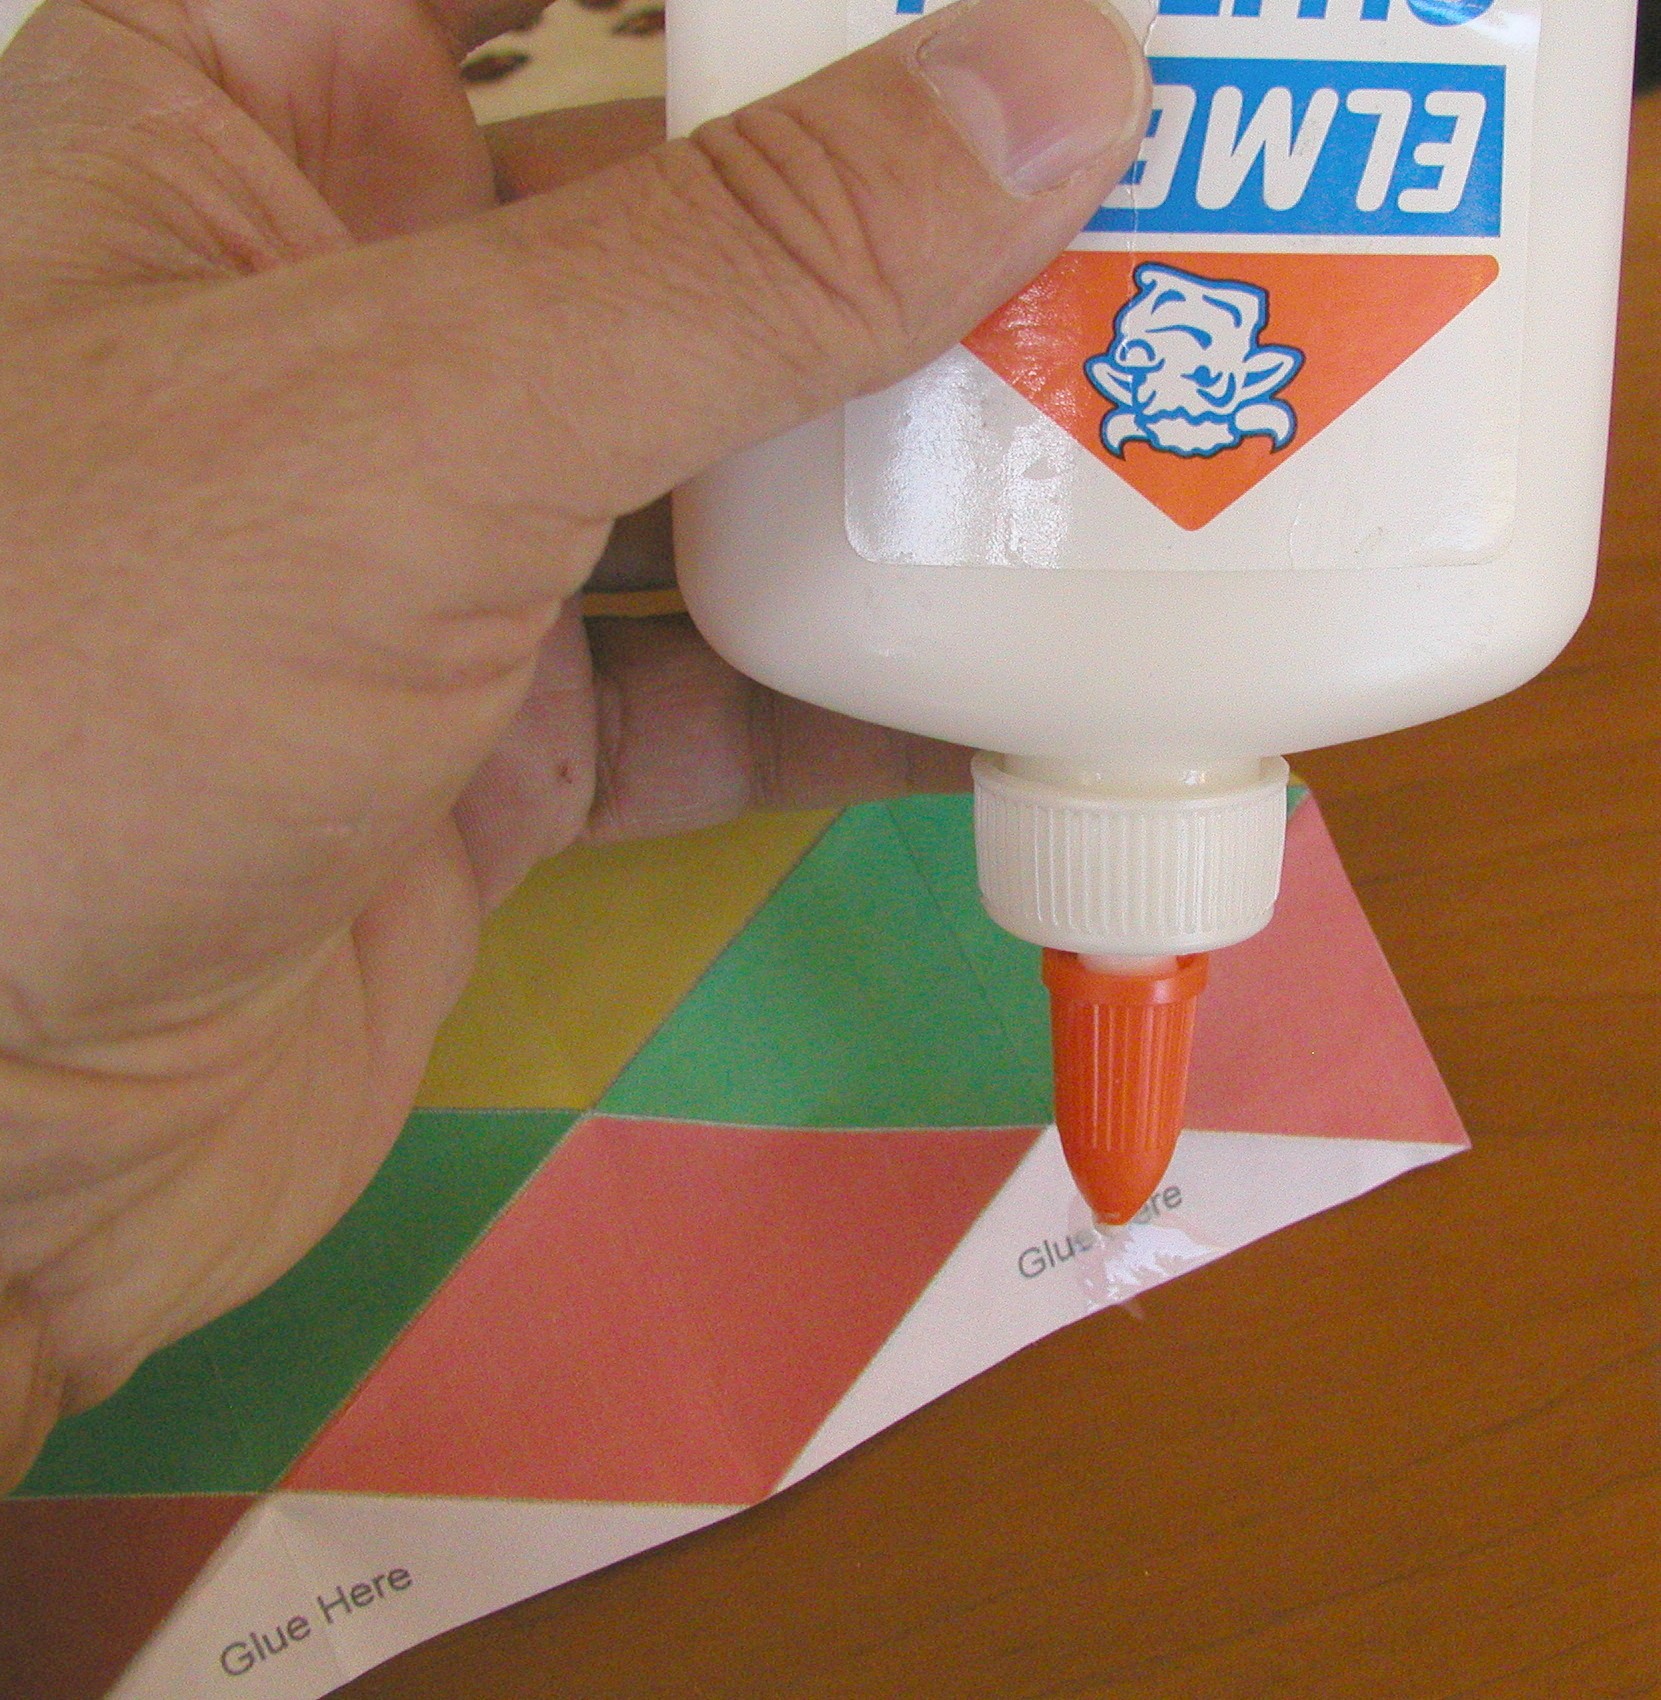
Click on photo for a larger picture Now that the paper is nicely creased along the fold lines, it is time to spread some glue on the first little triangle that says "Glue here".
Click on photo for a larger picture You can use a toothpick or a small piece of paper or cardboard to spread the glue into a very thin film. Using too much glue will just make a mess, and take a lot longer to dry.
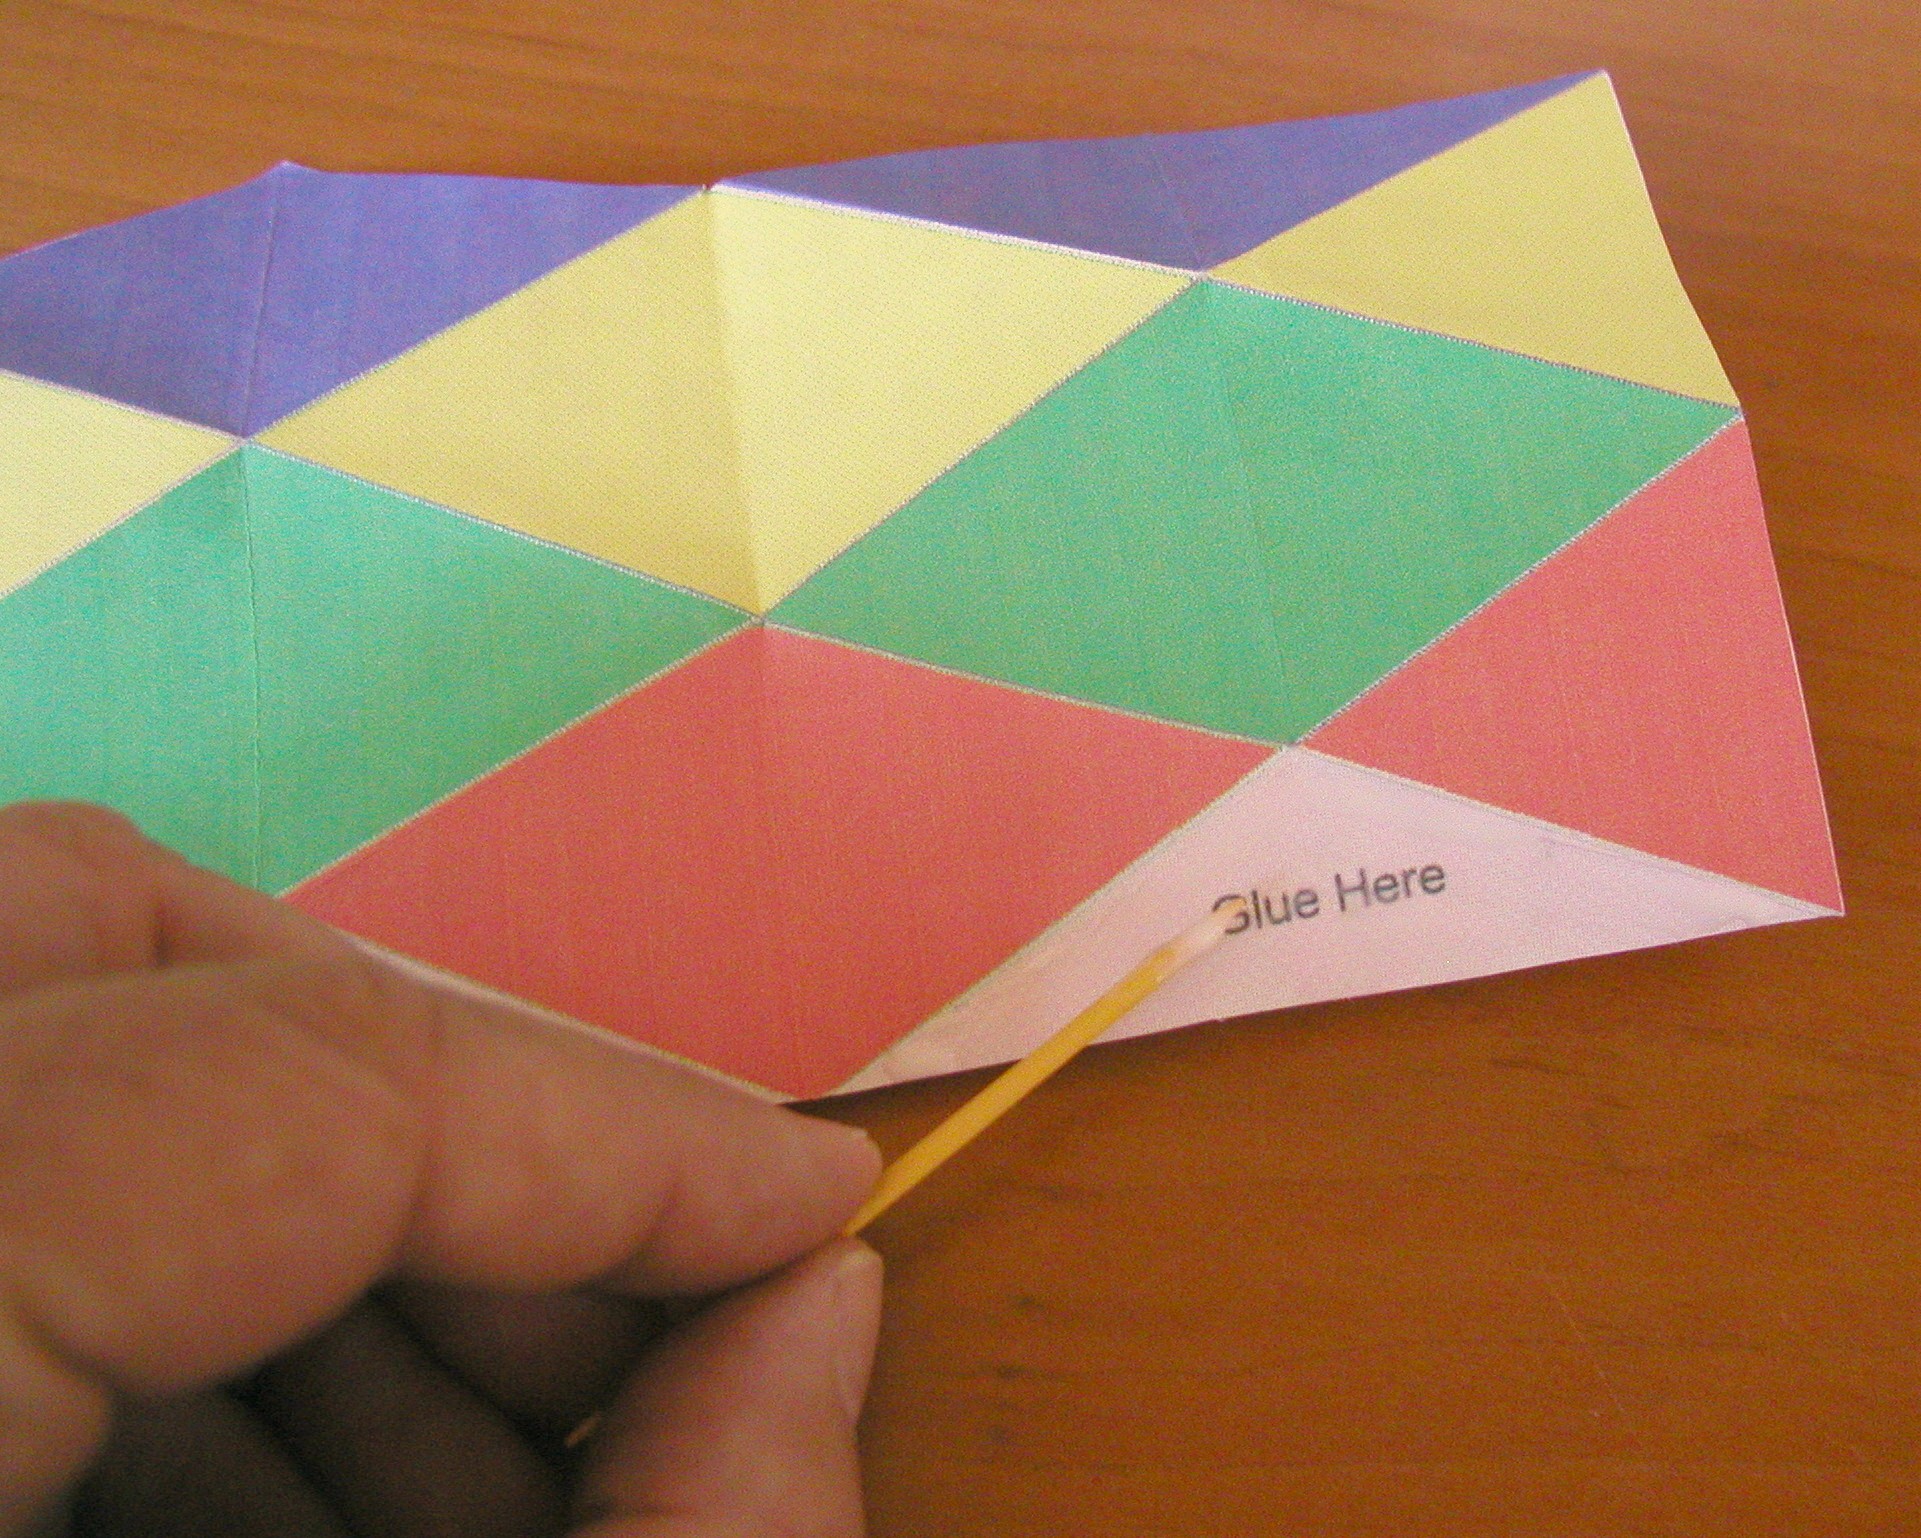
Click on photo for a larger picture Next, we fold the paper so that the blue diamond fits onto the part of the paper we just covered with glue. You can bend the blue diamond in half to make it easier to get the paper aligned properly.
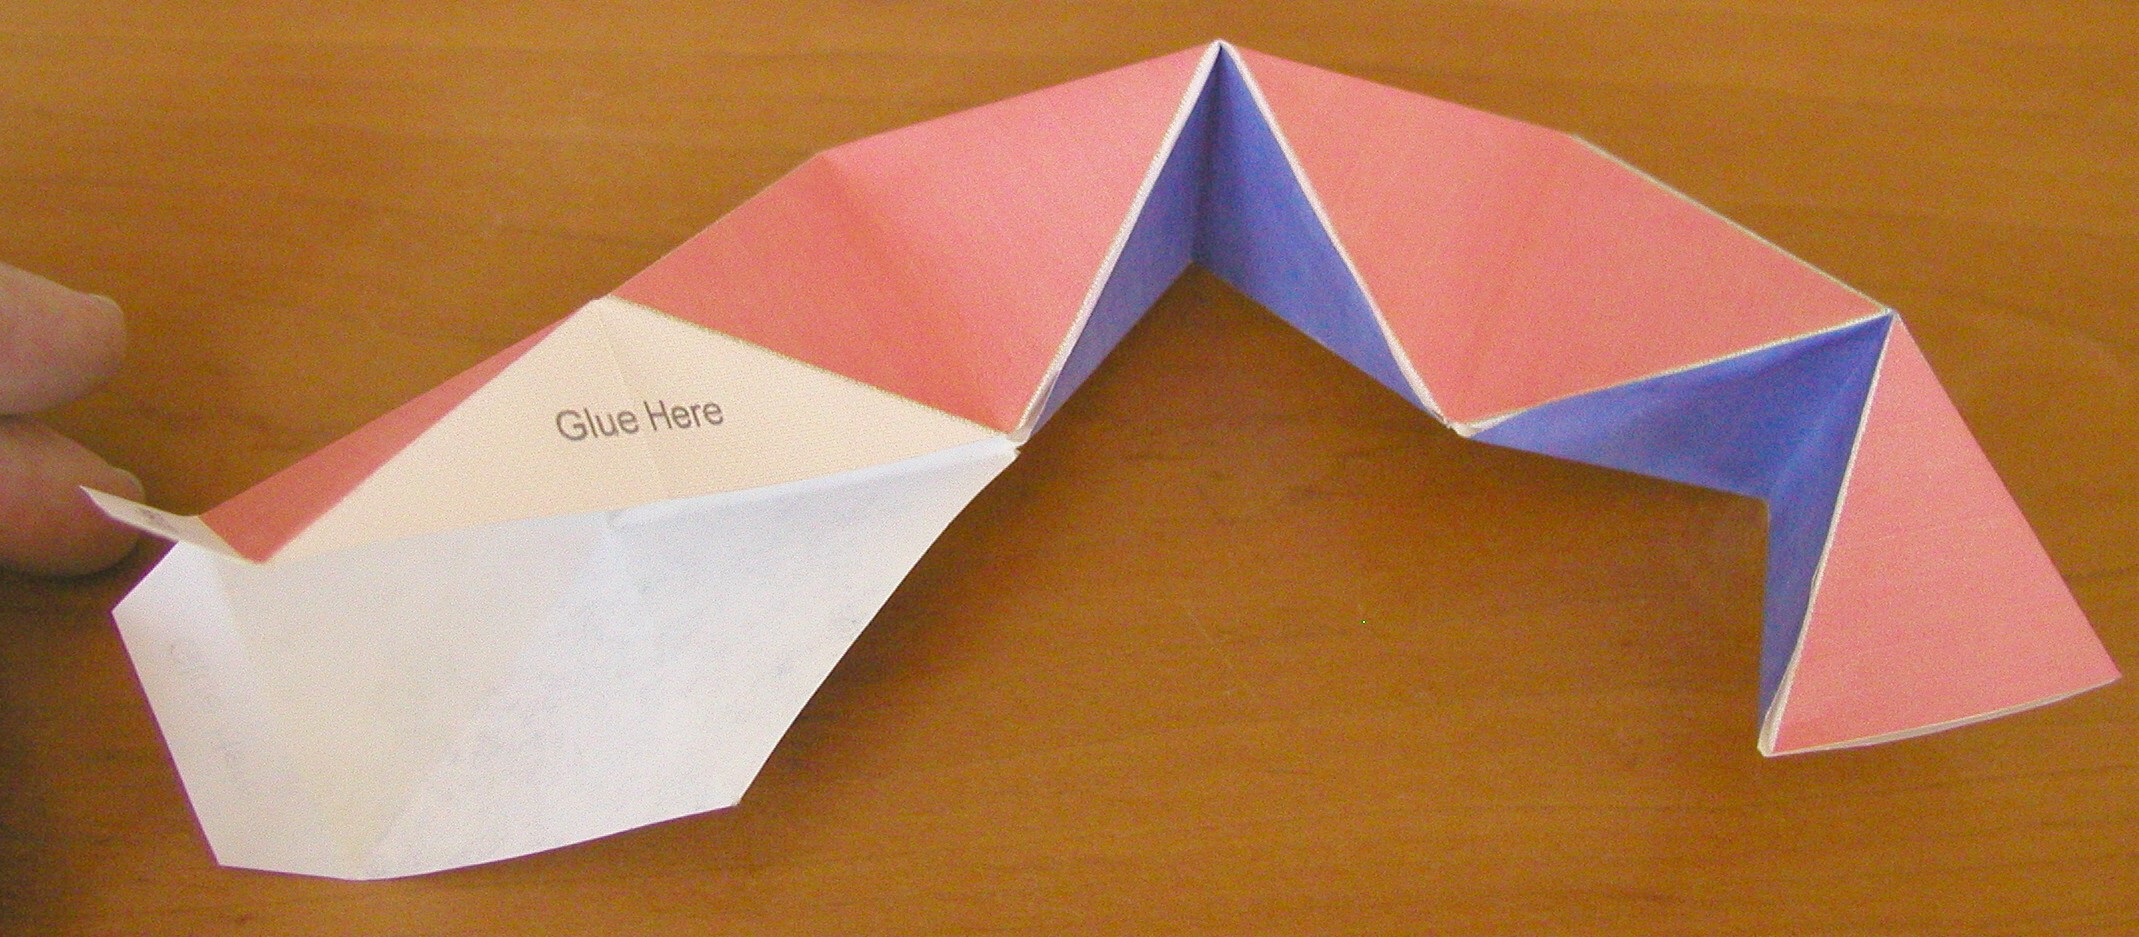
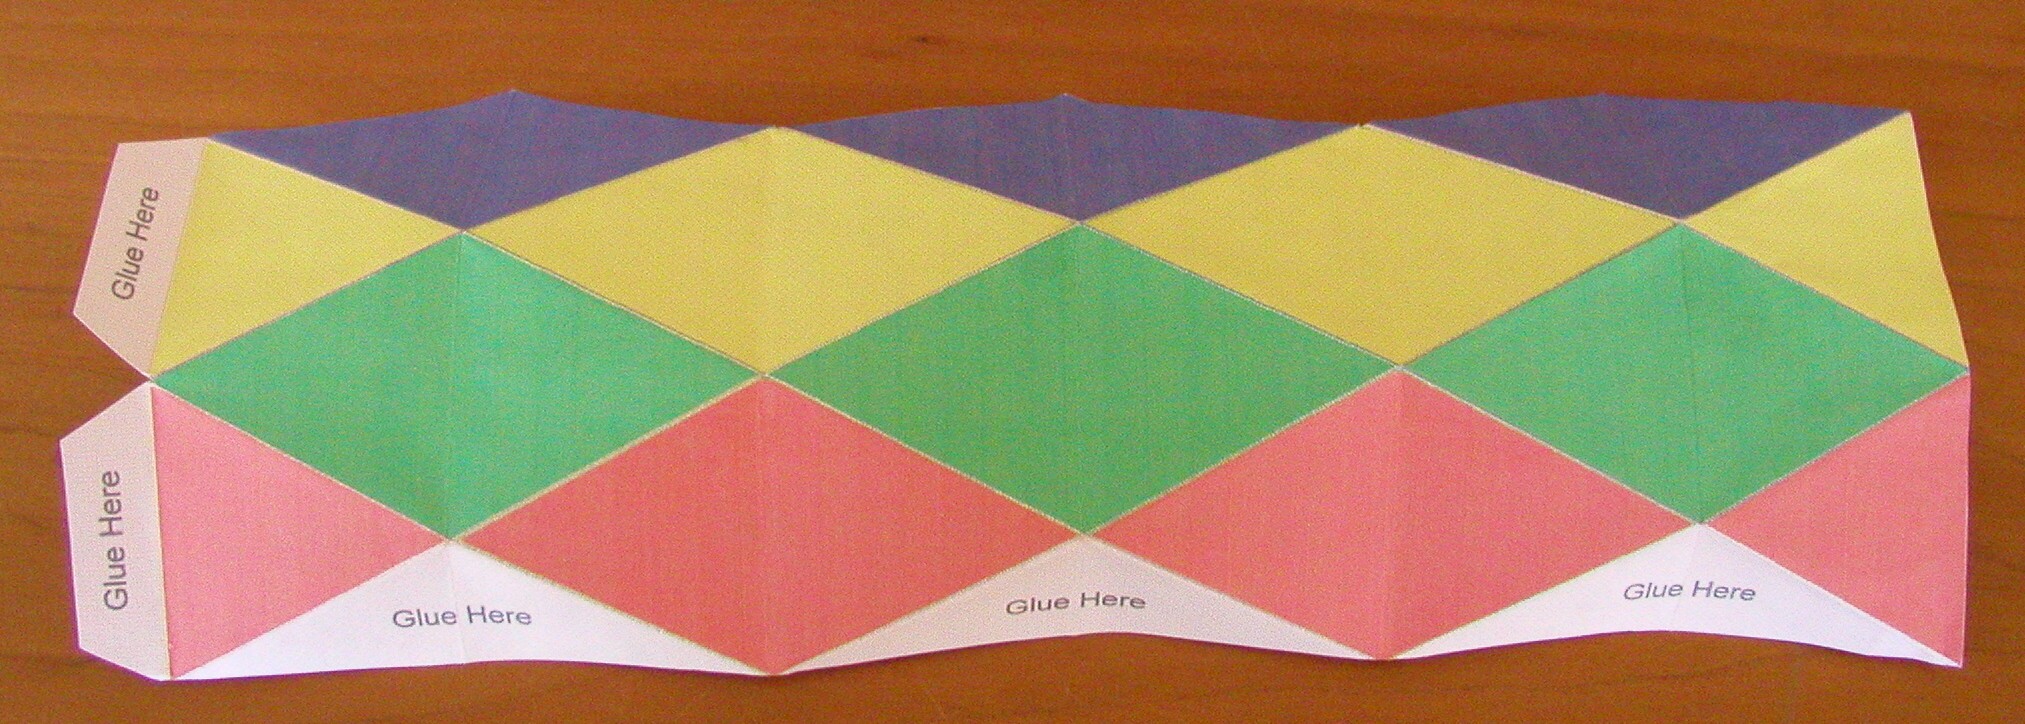
Click on photo for a larger picture We repeat this process with the other two blue diamonds, so we have a snake-like collection of six tetrahedrons, all hinged together.
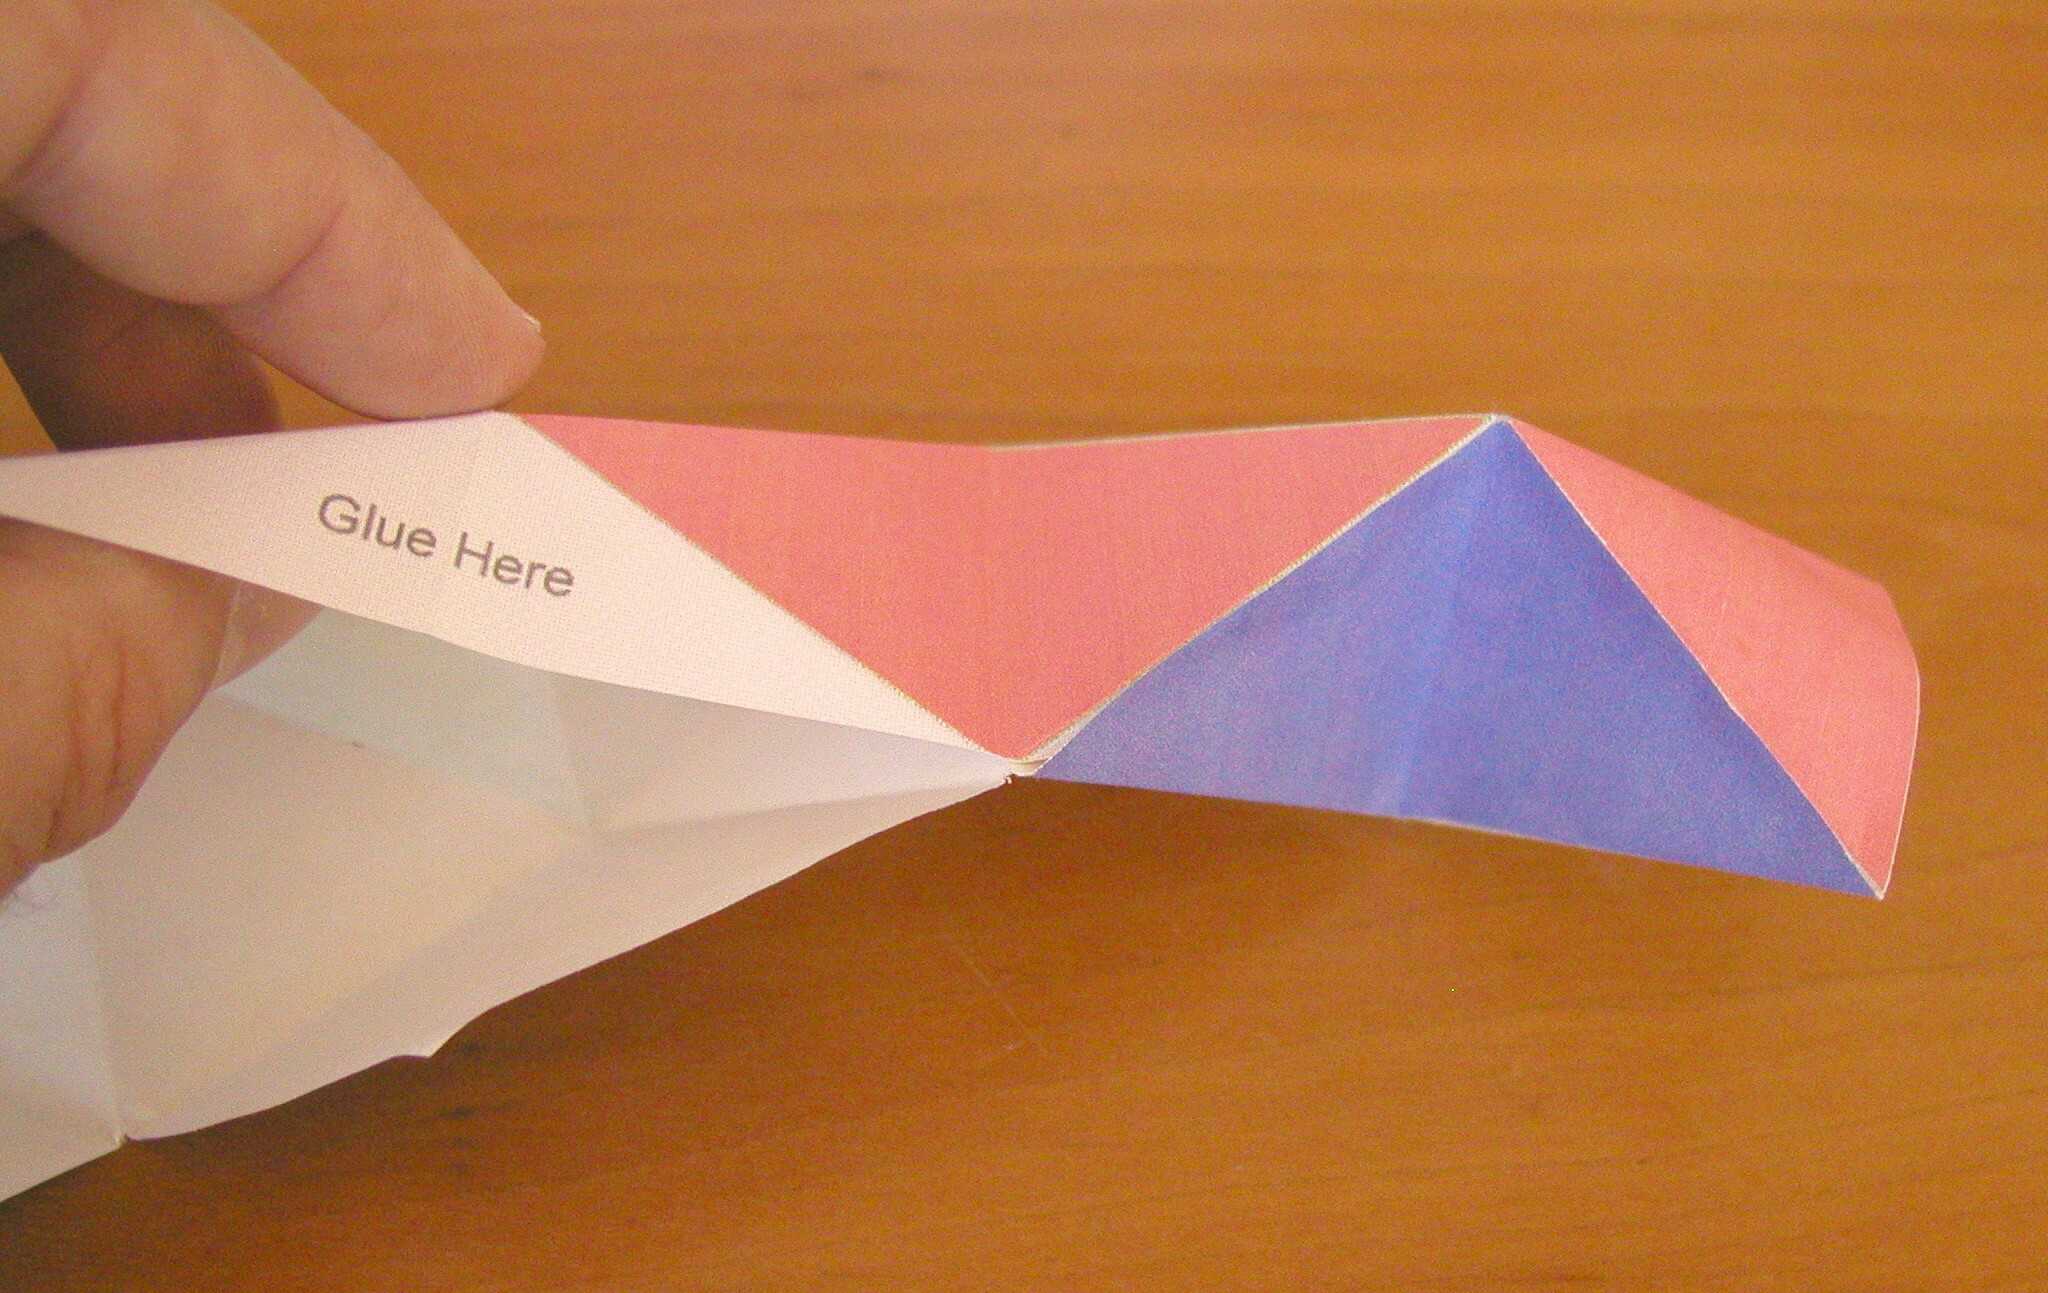
Click on photo for a larger picture The last step is to spread glue on the two tabs at the end, and carefully insert both of them into the other end of the snake, in the open end. Now pinch that end closed, so the tabs are glued to the paper, holding the snake's tail firmly in his mouth, forming a ring.
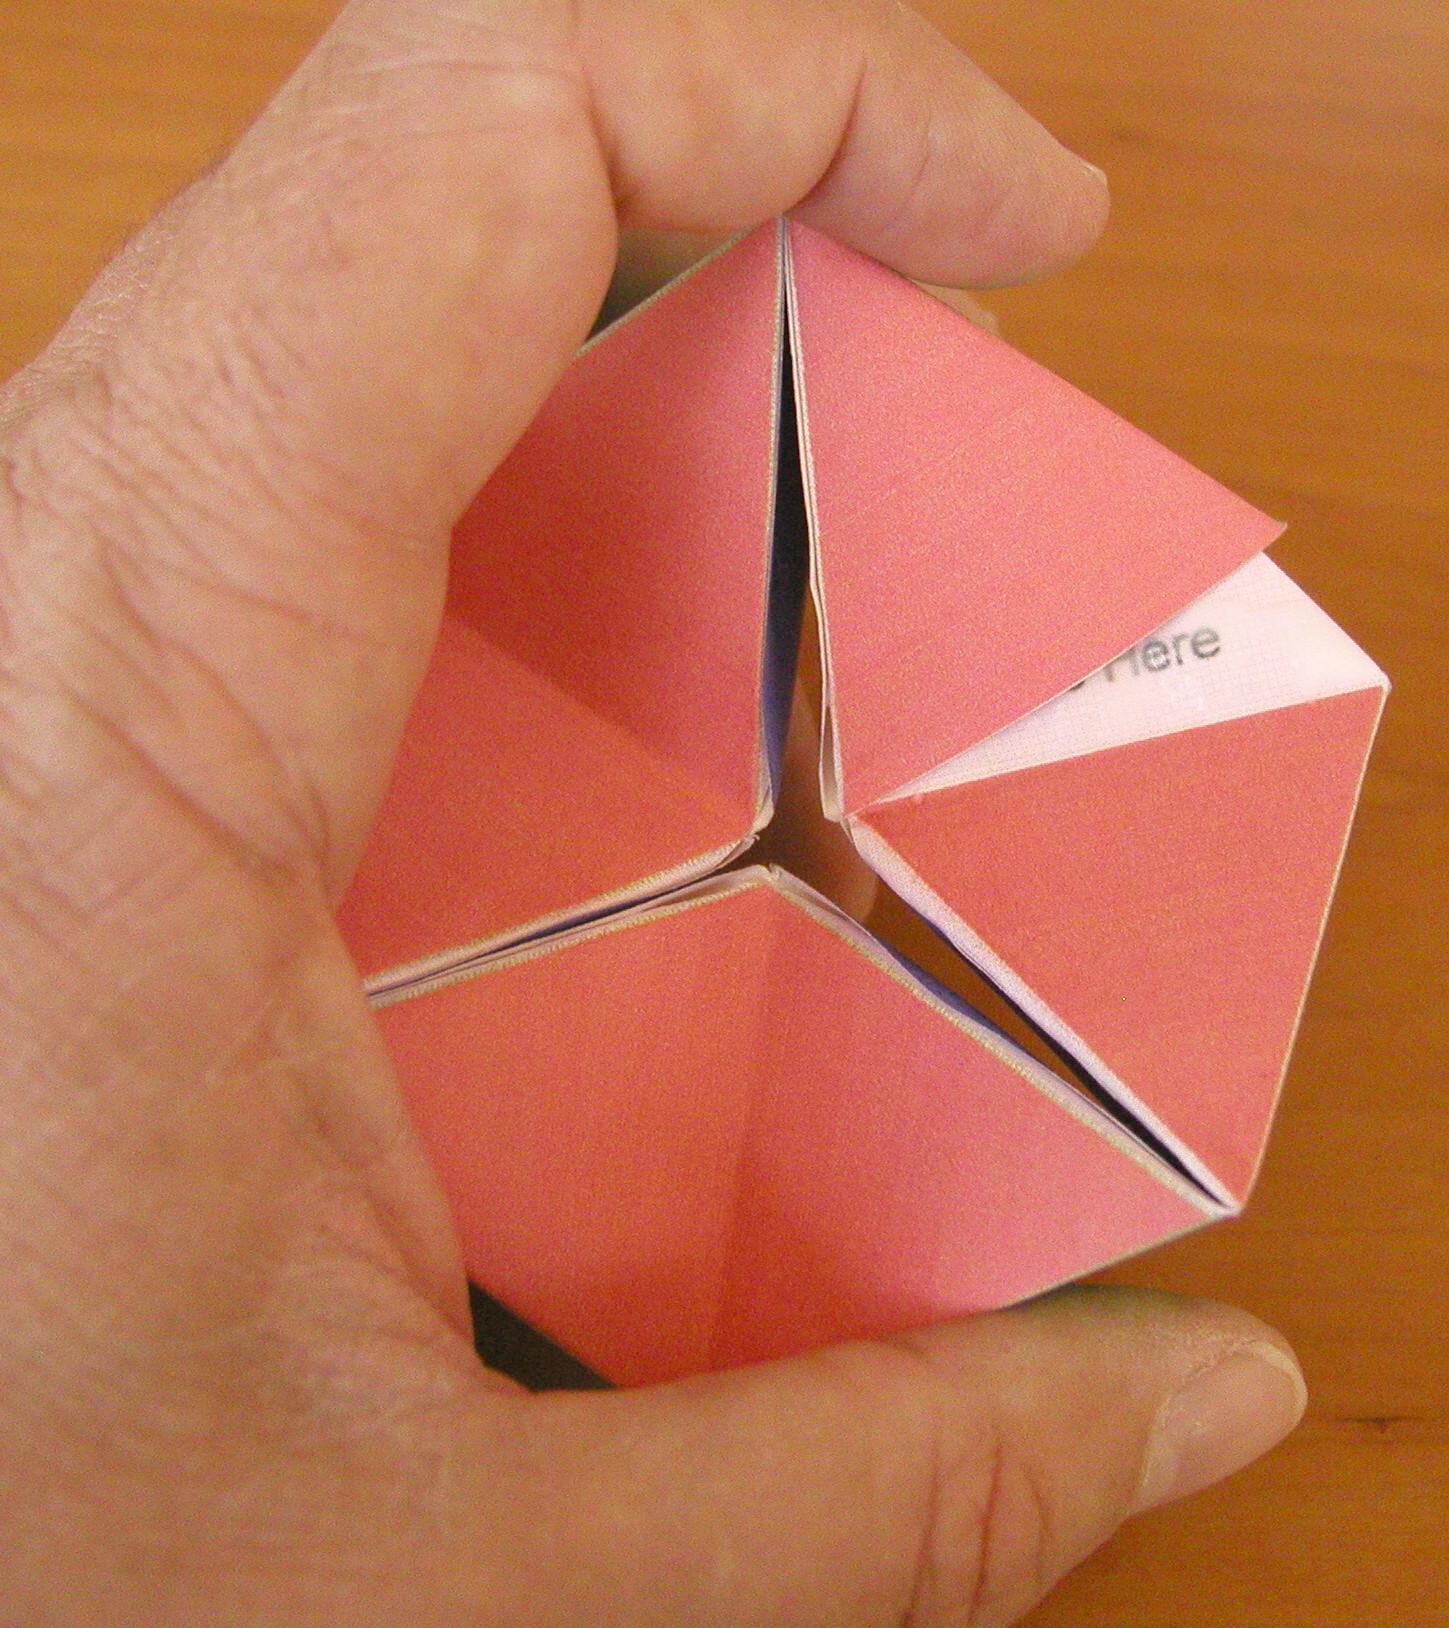
Click on photo for a larger picture It is important now to let the glue dry completely, since trying to play with the toy too soon will make it come undone, making a mess.
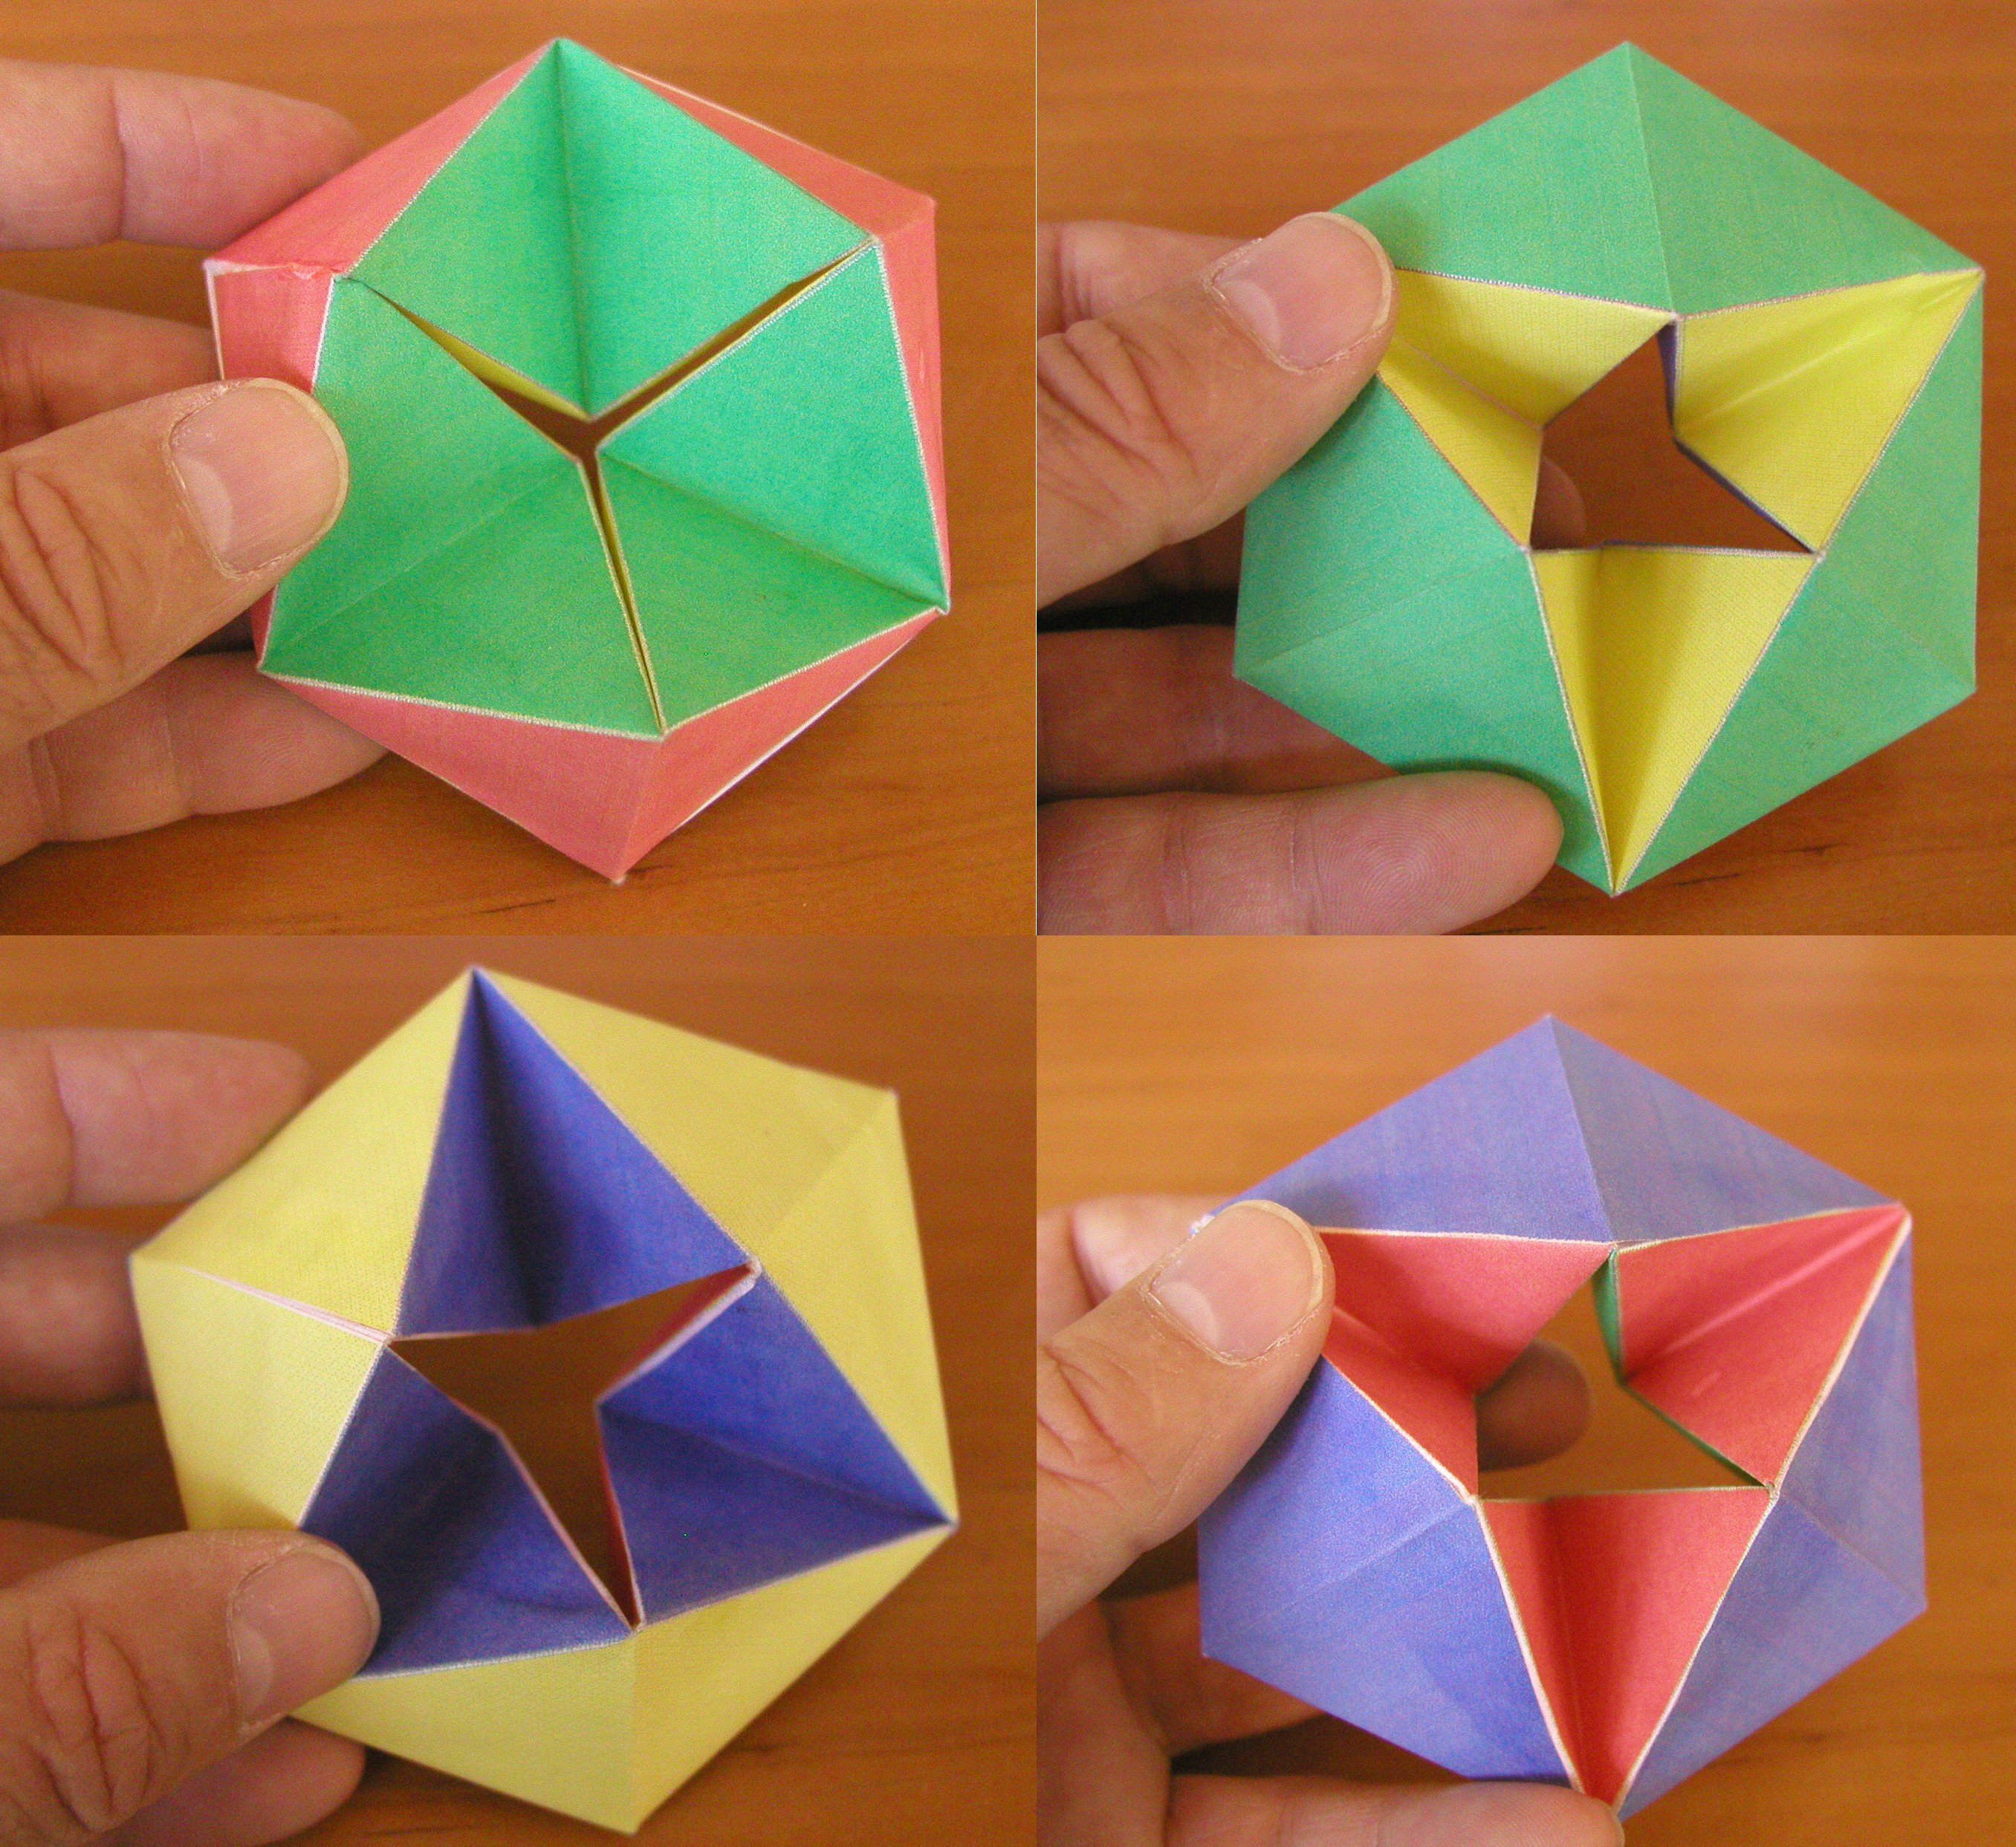
Click on photo for a larger picture When the glue is dry, you can now start turning the ring inside-out, pushing the center up from the bottom, and the outside parts down. The colors will change from one to the next as you keep playing with it.
Next: A Geodesic Dome
Del.icio.us
- Science Toys
- Magnetism
- Electromagnetism
- Electrochemistry
- Radio
- Thermodynamics
- Aerodynamics
- Light and optics
- Simple laser communicator
- Make your own 3D pictures
- Making permanent rainbows.
- A solar powered marshmallow roaster
- Make a spectroscope from a CD.
- The impossible kaleidoscope
- Make a solar hotdog cooker
- Exploring invisible light
- A high resolution spectrograph.
- Time-lapse photography.
- High speed photography.
- Stacking photos for high depth of field.
- Biology
- Mathematics
- Computers and Electronics
Some of my other web sites:

Send mail to Simon Quellen Field via sfield@scitoys.com