
- Science Toys
- Magnetism
- Electromagnetism
- Electrochemistry
- Radio
- Thermodynamics
- Aerodynamics
- Light and optics
- Simple laser communicator
- Make your own 3D pictures
- Making permanent rainbows.
- A solar powered marshmallow roaster
- Make a spectroscope from a CD.
- The impossible kaleidoscope
- Make a solar hotdog cooker
- Exploring invisible light
- A high resolution spectrograph.
- Time-lapse photography.
- High speed photography.
- Stacking photos for high depth of field.
- Biology
- Mathematics
- Computers and Electronics
A Magnetic Ring Launcher
 This very simple toy keeps amazing me with new tricks. My friend Jef Raskin
first described it to me, and we have both been having fun with variations
ever since.
All it consists of is ten little magnetic beads on a carbon graphite
composite rod.
The beads all repel one another, and arrange themselves in a way that
clearly shows the effect of gravity -- the beads at the bottom are closer
together than the ones at the top, forming a beautiful mathematical
progression.
This very simple toy keeps amazing me with new tricks. My friend Jef Raskin
first described it to me, and we have both been having fun with variations
ever since.
All it consists of is ten little magnetic beads on a carbon graphite
composite rod.
The beads all repel one another, and arrange themselves in a way that
clearly shows the effect of gravity -- the beads at the bottom are closer
together than the ones at the top, forming a beautiful mathematical
progression.
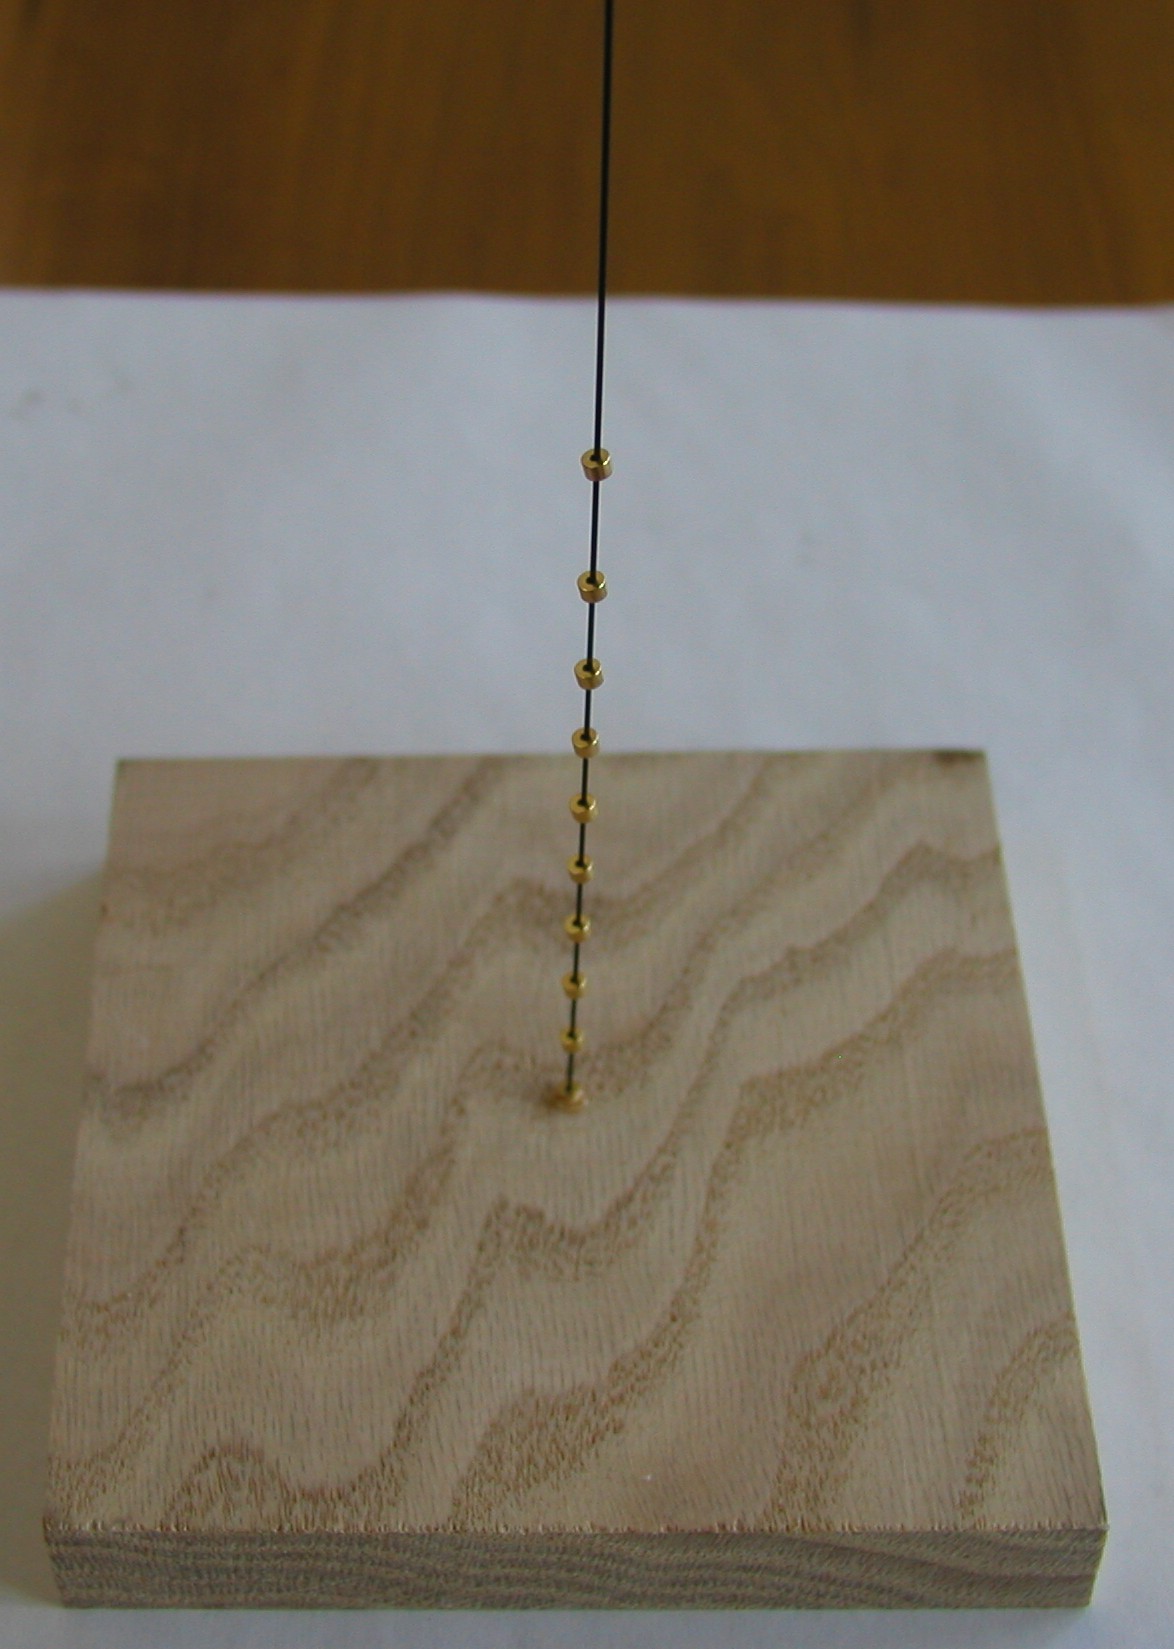
Click on image for larger picture The fun doesn't stop there, though. Turn the rod upside-down, and the beads flow down like sand, arranging themselves once again in the same pattern, always staying separate. Push down on the top bead, and then let it go. The ring shoots up into the air, and sticks to whatever ferromagnetic surface it hits, such as a filing cabinet or refrigerator. The effect is non-linear. Adding one more bead makes the top bead go farther than adding the previous bead did. There are two configurations we like to play with. In one, we glue a bead to each end of the rod, with eight (or more) beads in the middle. This form allows us to stick it to the refrigerator, and peel it off like a zipper. If you let it stick to the refrigerator, then pull the top or the bottom, the magnets bunch up at the other end. Then peel it off, and they jump back one by one into the original sequence. It's mesmerizing just to turn it upside down again and again, and watch the beads orient themselves, flowing like water down the rod. The second form is the Ring Launcher. In this form, the rod is glued into a hole in a block of wood, so it stays upright (or at a 45 degree angle if you want maximum horizontal range). You can launch the rings at steel targets, or have competitions or battles between two launchers. Or, you can glue a bead to the top, and just play with it on your desk, shooting the beads up to the top, where they are silently repelled back down by the top bead.
Building the Ring Launcher
You probably don't need any further explanation, but for completeness, we show the construction steps below.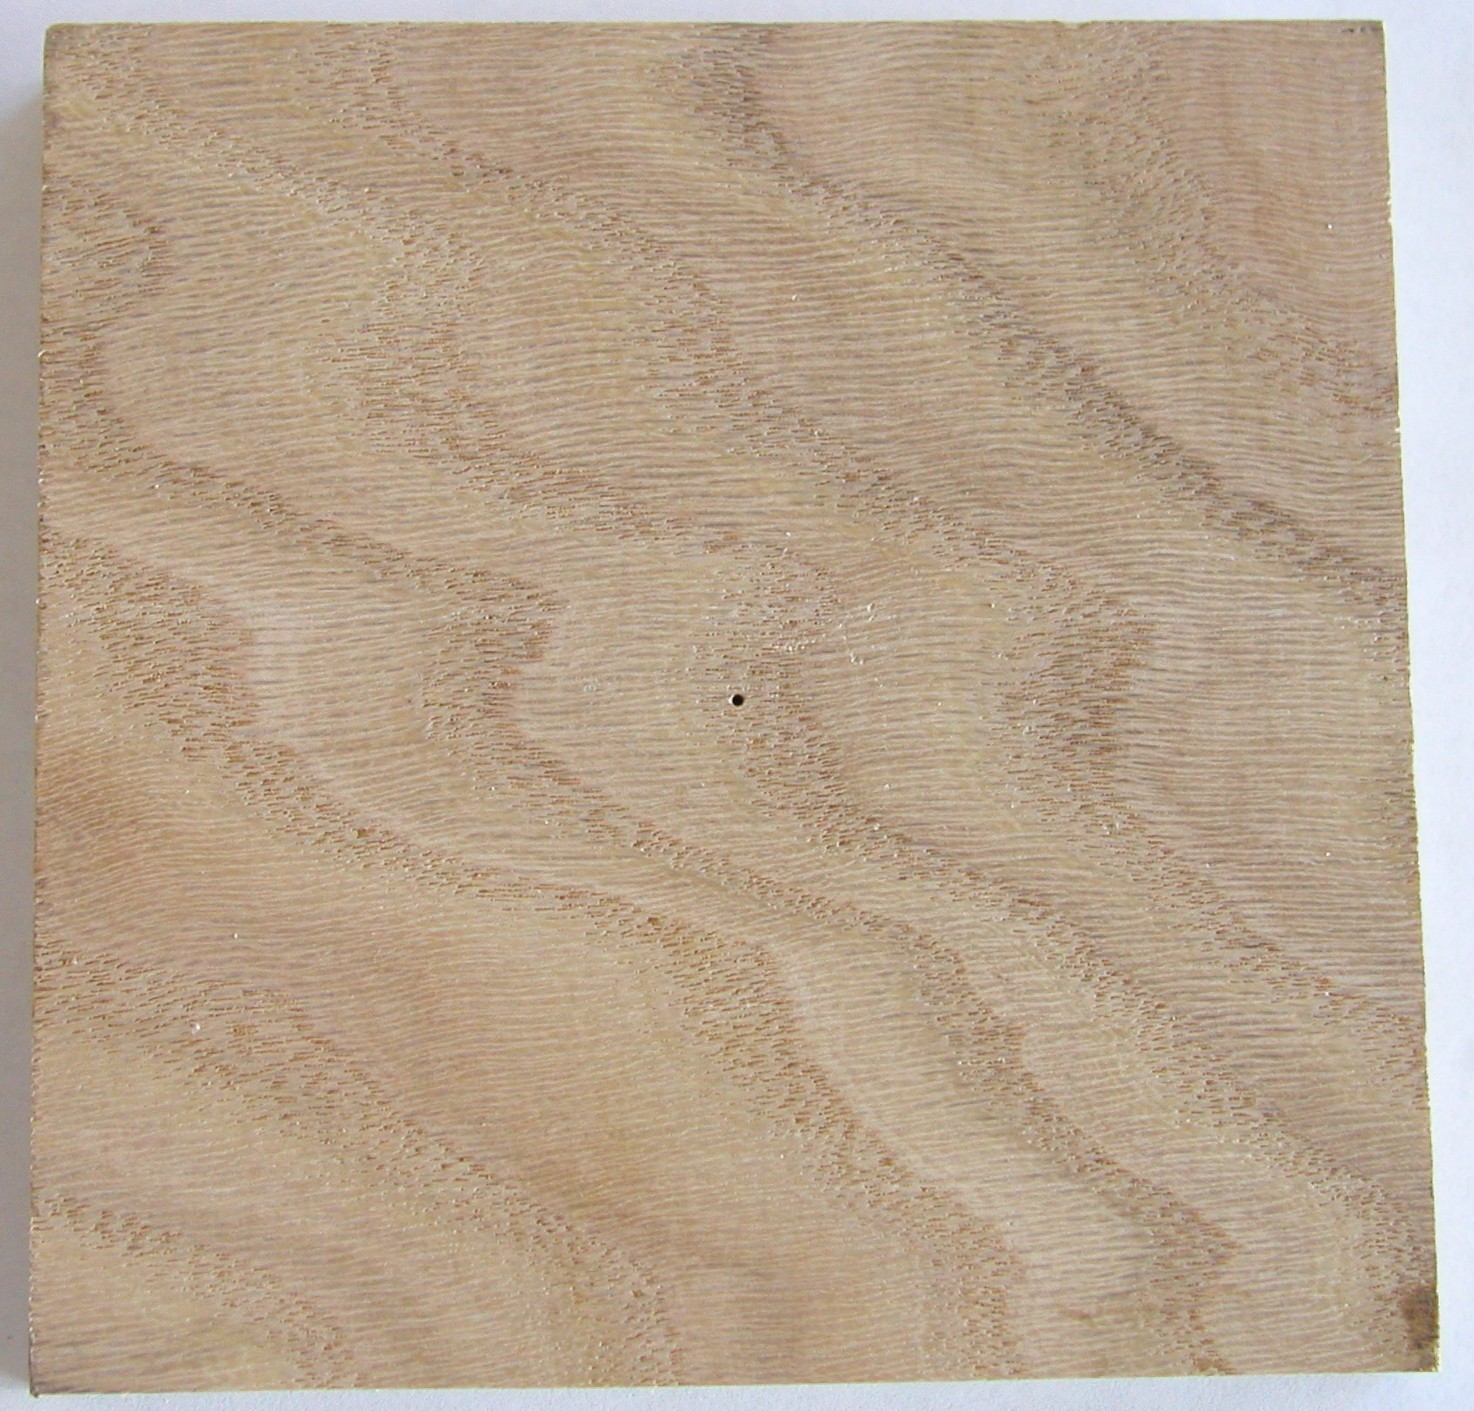
Click on image for larger picture We start with a wooden block, and drill a small hole in the center. We carry the rods and the beads in our catalog. The rods are 10 inches long, and 0.03 inches in diameter. They are made from the same high strength graphite composite that high-end tennis racquets, fishing poles, and bicycles are made of. They will bend easily, and spring back to their original straight form. If bent too far, they will snap cleanly in two pieces. The beads have holes in them that just fit over the rod. They are the same super high strength magnets as the others we carry in our catalog. Like those, they are gold plated to keep out moisture, and survive corrosion and abrasion.

Click on image for larger picture Glue the rod into the hole, keeping the rod upright. We like to use Super Glue, as other glues take longer to harden, and don't hold onto the slippery rod as well. Place one bead at the bottom of the rod, and let the glue stick it there. Now place the rest of the beads on the rod one by one, making sure they repel one another. If they stick, turn the last one over. That's it! Now you have a ring launcher.
 To make the Zip Rod, don't use the wooden block.

Click on image for larger picture Glue one bead at the end of the rod.
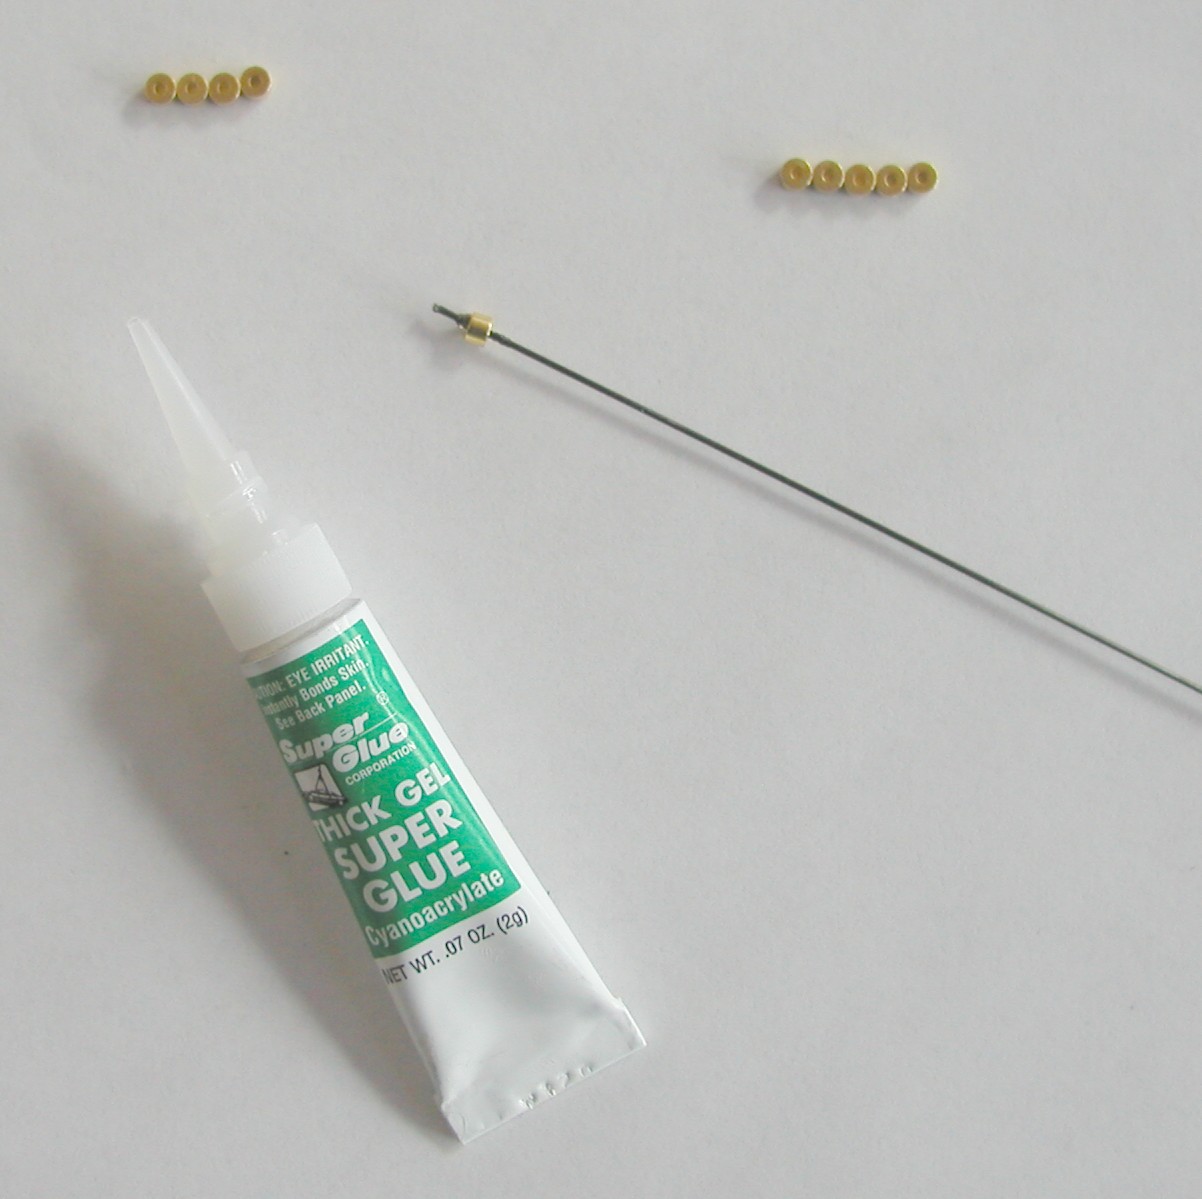
Click on image for larger picture Let the glue harden, then place the remaining beads on the rod, so they repel. The last bead is finally glued to the far end of the rod, again making sure it repels the bead before it. There should be a good deal of space between the last two beads, so you can watch the beads move and stack themselves. Del.icio.us
- Science Toys
- Magnetism
- Electromagnetism
- Electrochemistry
- Radio
- Thermodynamics
- Aerodynamics
- Light and optics
- Simple laser communicator
- Make your own 3D pictures
- Making permanent rainbows.
- A solar powered marshmallow roaster
- Make a spectroscope from a CD.
- The impossible kaleidoscope
- Make a solar hotdog cooker
- Exploring invisible light
- A high resolution spectrograph.
- Time-lapse photography.
- High speed photography.
- Stacking photos for high depth of field.
- Biology
- Mathematics
- Computers and Electronics
Some of my other web sites:

Send mail to Simon Quellen Field via sfield@scitoys.com